
Pattern designed by VioletAndOberon
Introduction
My latest crochet project is a space cardigan. After sharing the pattern of my rocket spaceship appliqué in this blog post, I thought I would continue my crochet journey with a UAP, unidentified aerial phenomena aka UFO.
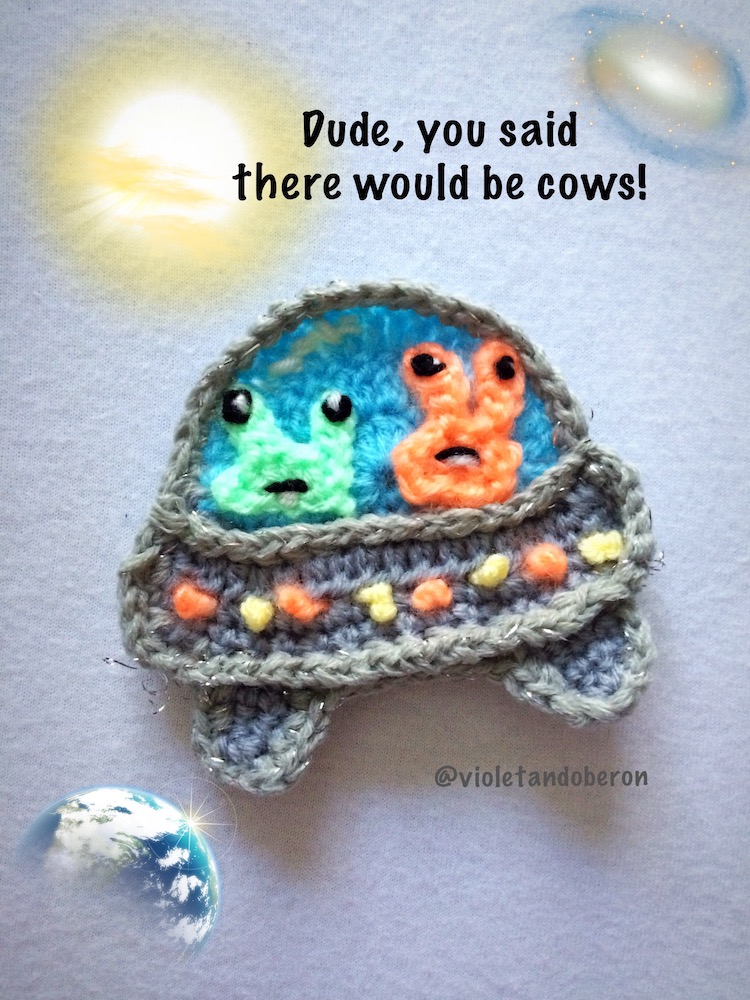
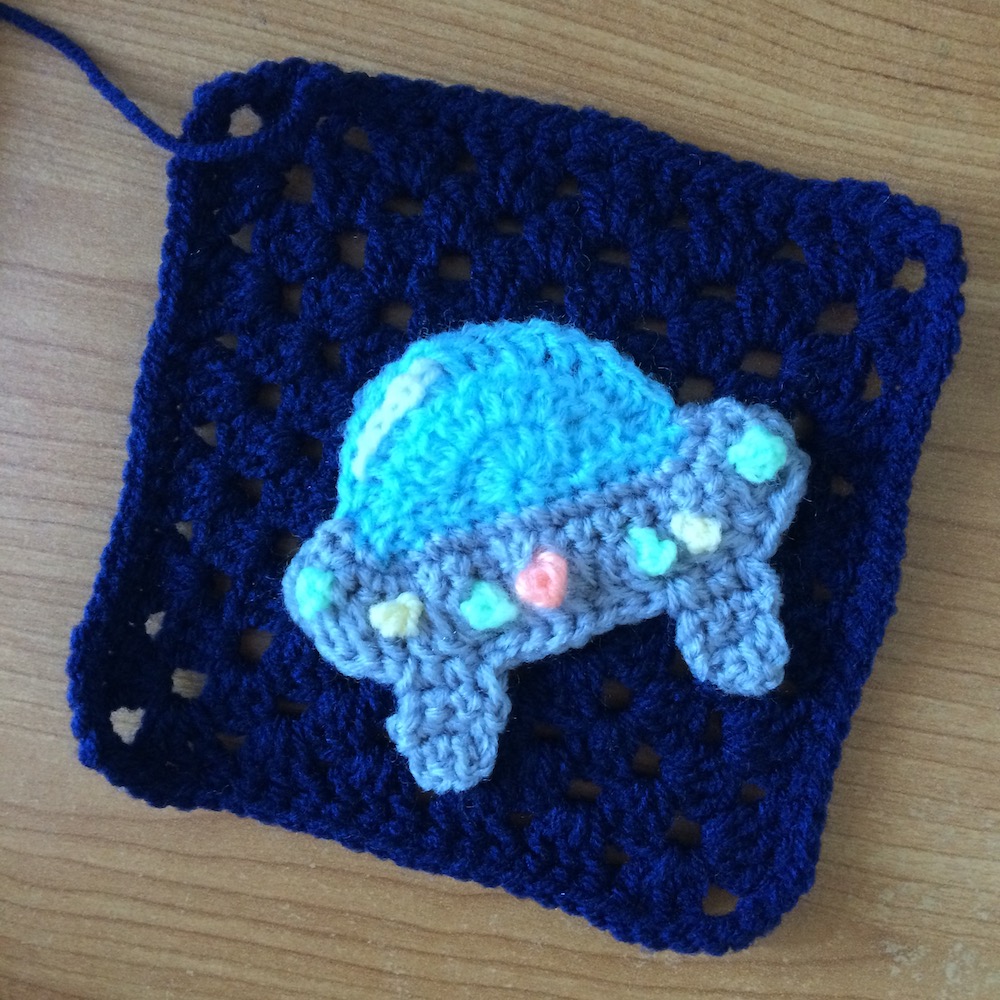
I initially started with a pretty tame flying saucer, but then I got carried away and made it very derpy. Feel free to choose the version you prefer.
Copyright information
Yes, small appliqué crochet patterns are not rocket science, but still, creators deserve a bit of recognition, don’t you think?
This pattern or any portion thereof may not be reproduced in any manner whatsoever without the express written permission of VioletAndOberon.
This pattern is available free of charge, on the VioletAndOberon blog. Be a good human and provide attribution.
Pattern information
Using a 3 mm hook and 2 to 2.5 mm yarn should give you an appliqué of about 9 cm wide and 8 cm high.
I used yarn that belonged to my late grandmother. She was a professional milliner and an amazing knitter.
Remember to keep a tail long enough to be able to weave it.
How to crochet a simple flying saucer
With blue yarn.
You are starting with making the blue rounded glass cockpit of the UFO.
R1 Ch3. DC7 into 1st ch. Do not join.
R2 Ch2. Turn. DC1 into 1st st, then DC-inc x6, then DC1 at the top of initial ch3.
R3 Ch2. Turn. DC1 into 1st, then repeat (DC-inc in next st, DC1 in next st). It it does not look like a half-circle enough, you may with to add a DC at the end into the ch.
You will be creating the bottom edge of the blue glass cockpit in the next row.
R4 You are continuing at the stitch you ended on R3. You should be at the bottom corner of the cockpit. You are crocheting along the edge of the DCs. Ch2. SC1 in next. SC-inc in next 5. SC1 in next. Ch2.
If you added some DC at the end of R3, you may need to adapt the R4 instructions slightly by adding some SC. Just make it look like a straight light and make sure that you finish the row with SC1, Ch2. SS into the next DC on the side of the cockpit. Fasten off. Cut. Weave in tail.
Switch to grey yarn.
You are now working on the lower part of the flying saucer.
R5 Start in the 1st st right bove the bottom corner by SS your grey yarn. Ch1. Then SC2 into the next st - the bottome corner. Then SC1 into each st. When reaching the next corner SC-inc, Ch1 and SS into the next st.
R6 Ch2. Turn. SC1 into next st. HD-inc into next 2 st. Then HD1 into each st. When reaching the last 3 st: HD-inc in next 2st, SC1 in last st.
R7-8 Ch2. Turn. Skip 2. SC1 in each st.When reaching the last 3st: Ch2, skip 2, SS into last st. Fasten off. Cut. Weave in tail.
With grey yarn.
You are now making the two feet of the flying saucer. Fold your flying saucer along the height to locate the stitch at the middle of the bottom.
For each leg, you will start with a standing single crochet into the 6th st from the middle st.
R1 SC3 including standing SC
R2 Ch1. Turn. SC3.
R3 Ch1. Turn. SC3.
R4 Ch1. Turn. SC-dec 3 together. If you don’t know how to do it, simply: insert your hook into 1st, yarn over, insert hook into 2nd st, yarn over, insert your hook into 3rd st, yarn over. You should have 4 loops on your hook. Then yarn over and pull through the 4 loops. Fasten off. Cut. Weave in tail.
Adding some cute details
Add a bit of light reflection on the cockpit, either with a few surface crochet st, or sewing some white thread.
Add lights. If you know how to make French knots, this is your time to shine. Otherwise you may want to sew in small knots of yarn.
Making it derpy
If you are making this appliqué for a child, consider making it a bit extra with some really cute and derpy aliens.
Alien heads with antenna eyes
Ch3. HD5 into 1st st. Ch2. Turn. Skip 1st. SS. SS. Ch4. Then going downward SC. SS. SS. Then SS. SS. Ch4. Then going downward SC. SS. SS. SS and fasten off.
Use you yarn needle to sew on a knot of black yarn and then a strand of white yarn. Add a smile, some teeth, whatever takes your fancy.
Giving more dimensionality to the flying saucer
I created ridges by slip stitching on the surface all around and between parts of the flying saucer, and to make it a bit higher, I then SC on top.
The aliens look so delightfully confused. I can’t help giggling every time I find that granny square in my stash.
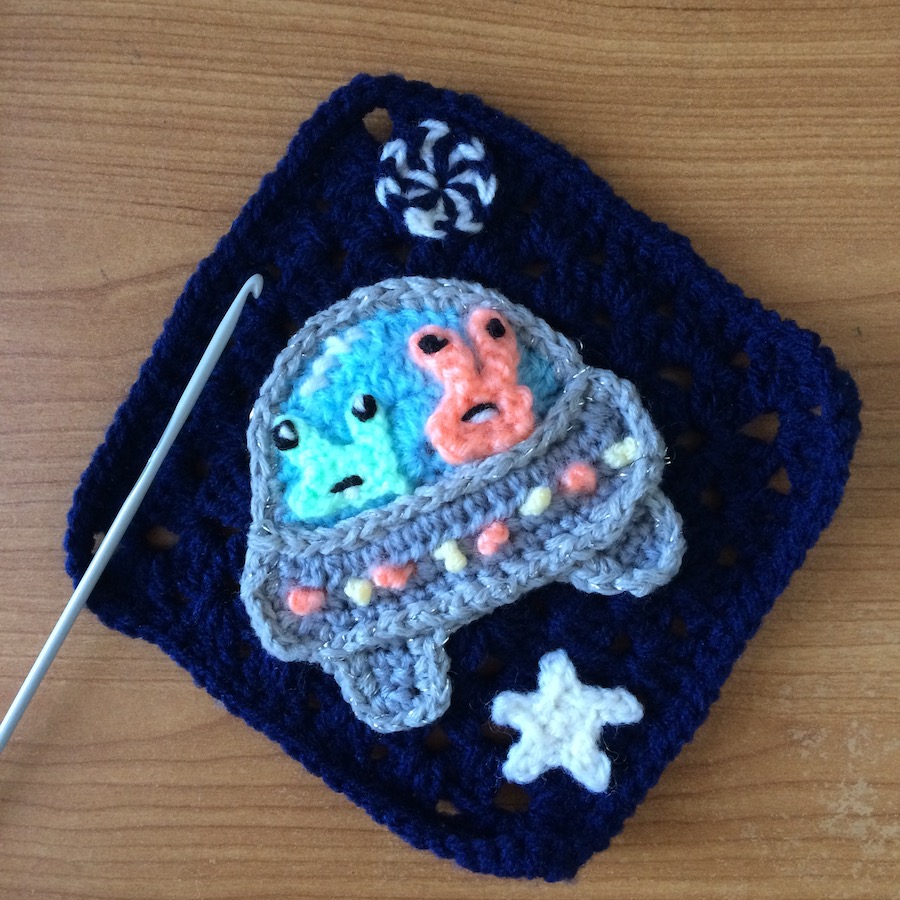
Bonus
How to crochet a tiny spiral galaxy candy cane appliqué
Use the same yarn color as your granny square and a contrasting color. I used white.
Start with white.
Make a slip knot, Ch3. Do not remove your hook from the 3rd ch. Make a slip know with blue yarn and pull it through the 3rd ch.
Yarn over blue yarn, insert hook in 1st ch. Pull yarn through. Yarn over. Pull blue yarn through 2 loops. Yarn over white yarn. Pull through the 2 remaining blue loops.
Basically, you start your DC with a color and switch color before pulling through to finish your DC stitch.
Repeat it as many times as you need to get a circle with alternating colors.
If you choose to do it in white and green or red and green, you will get a nice appliqué to decorate Christmas wreaths and garments.
Support the designer
Thank you for your generosity. Stay tuned for another free crochet pattern.