
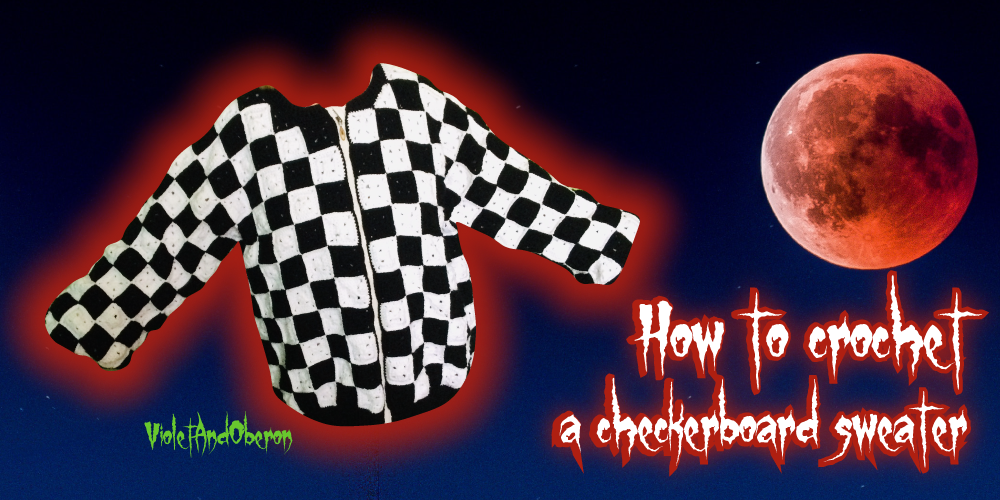
A tutorial by VioletAndOberon
I was wondering what new crochet project I would make, when I finally got to watch Wednesday Adams on Netflix. I was expecting all black fashion, or maybe only stripes but when I saw her wonderful sweaters, I knew I had to make them for myself. I particularly loved the checkerboard one.
Then I looked through patterns and got worried. I am quite large. I buy plus size dresses and purchase my T-shirts in the Men’s section. Long story short, I was really doubtful that I would be able to find a pattern that fits me. I did not want to have to go through endless trial and error modifications.
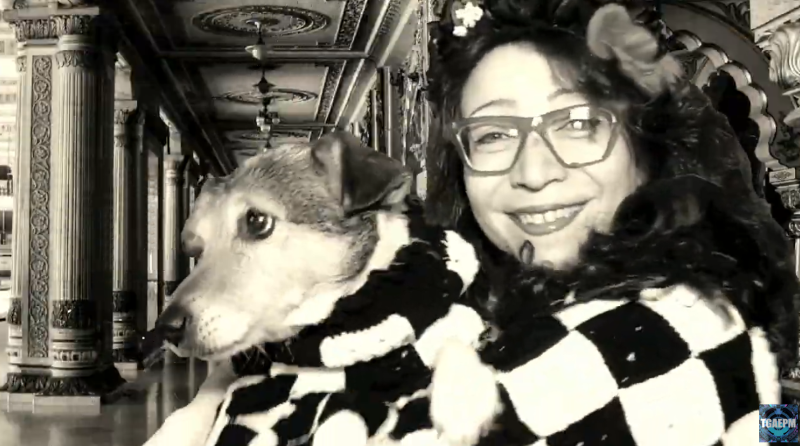
Also, I wanted to make the same sweater for my Jack Russell Terrier.
Then it hit me. A checkerboard is made of squares, so what about using granny squares to achieve a similar effet. True, it would involve quite a lot of sewing but it would also work just like Lego bricks - just keep adding squares to make it bigger, or remove them to make it smaller. It would really be easy to get the fit I want.
Would you like to see what I made? Here is a fun video to present it.
Supplies
I used acrylic yarn 50 g = 140 m with 3 mm crochet hook. I used about 20 skeins of each color but I also made a dog sweater, a hood, and mittens - more about that in a future blog post.
I also used a tapestry needle, a normal pair of scissors, a sewing needle.
I upcycled a zipper from an old fleece top instead of buying a new one.
The gist
After making a few squares, I measured them to get their average dimension. I then took a very roomy Christmas sweater and looked how many squares I would need to make to fill in the surface.
I ended up with 12 * 12 squares for the back, (12 * 12) - 8 for the front, and (10 * 9) *2 for the sleeves.
That’s 460 squares.
If you manage to crochet 20 squares a day, you can be done making squares after 23 days.
The squares work up really fast, so after a couple, you will be in the flow and won’t see the time pass. Particularly if you are watching your favorite show on Netflix to keep you company.
Eventually, I decided to make the shape a little bit different to go with the rest of my clothes. I opted for a bomber jacket style of cardigan. To achieve the shape, I added some ribbing around the neck hole, the cuffs, and at the bottom.
Resources
I created two video playlists to help you get started with creating your own crochet checkerboard sweater.
If you have never done any crochet before, you may chose to start with the crochet basics playlist for complete beginners. It will show you how to hold your hook and your yarn, and then will help you learn the different basic stitches that you need for this project.
If you already know single crochet and double crochet, your can directly watch the playlist explaining how to make the mini granny squares that create this very neat checkerboard effect. It also includes a video that shows you how to create a nice and neat ribbed edging using FPBP double crochet. For an even thinner ribbing, use a 2 mm crochet hook.
This post is a work in progress, I will keep adding to it
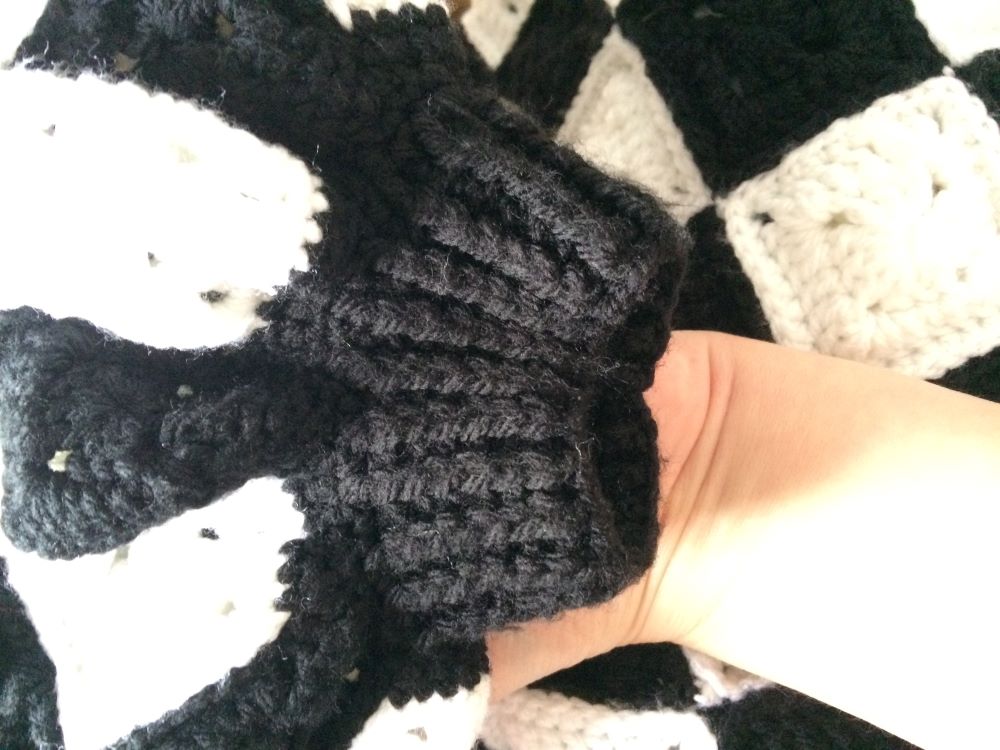
Making the cuffs
You may choose to keep your sleeves very wide, including at the cuffs - then you don’t need to make any ribbed edging. You can just leave the sleeves as they are after sewing all the squares or you could do a row of single crochet all around.
You could do like what I did, a tight ribbed edging.
Start with decreasing
Take you sleeve and pinch it tight around your wrist. You will see that you should need only half the squares or even less to wrap around your wrist. This will give you an idea of how much you need to decrease.
This is what worked for me with a 2.5 mm hook:
R1 SC all around
R2 SC-decrease all around
R3 (SC, SC, SC-decrease) all around
R4 DC all around
R5 - R10 FPBPDC all around
Supporting the creator
My crochet video series is called, The Sisterhood of the Crochet Klatch. You can see the beautiful logo in each of the tutorial videos.